Microblading can feel like a beauty rollercoaster, with excitement and anxiety riding shotgun. After those glorious strokes of semi-permanent magic, the healing process kicks in, and that’s where the fun really begins. Scabbing is part of the journey, and while it might sound like a horror movie subplot, it’s just your brows doing their thing.
Overview of Microblading
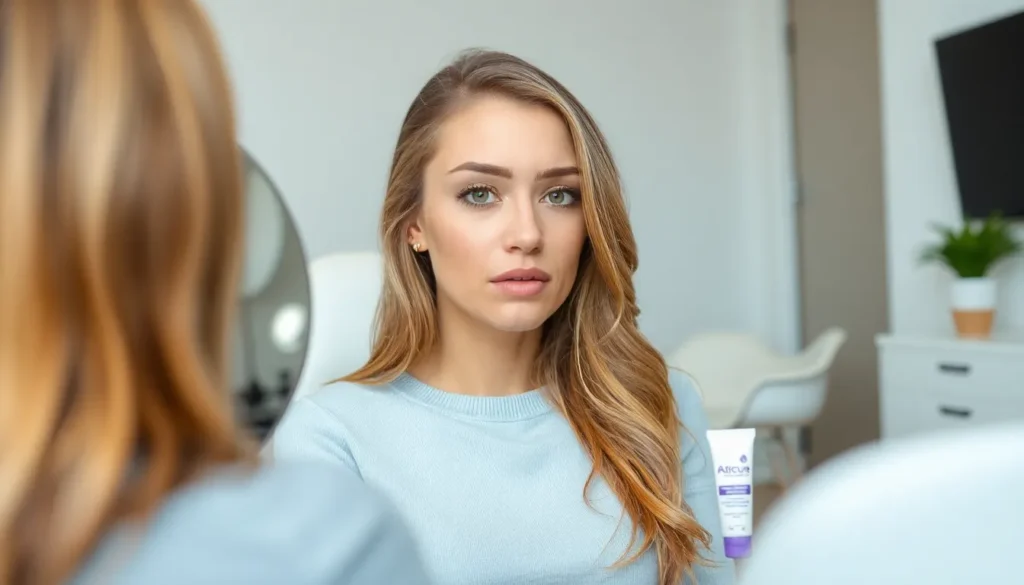
Microblading involves the semi-permanent enhancement of eyebrows through the hand-drawing of individual hair strokes. This technique uses a small blade to deposit pigment into the skin, resulting in natural-looking brows. Practitioners often recommend this method for individuals seeking defined, fuller eyebrows.
The procedure typically lasts between two to three hours, allowing for thorough consultation and design adjustments. Initial outcomes appear bold immediately after application. Over time, the colors soften, blending seamlessly with natural brow hair.
Healing after microblading follows a specific pattern. Initially, the area may feel tender and slightly swollen. Within the first few days, clients often notice scabbing as the skin begins to heal. This scabbing is a normal response, and proper aftercare minimizes complications.
As healing progresses, flakes may appear and fall off naturally. Discoloration occurs during this phase, with shades ranging from dark to light in the brows. By week three, most scabs have resolved, revealing the true color of the brows.
Results are long-lasting, typically lasting from 1 to 3 years, depending on skin type and care routines. Regular touch-ups help maintain pigment presence and brow definition. Microblading offers a solution to sparse brows, empowering individuals to achieve their desired look with minimal daily effort.
Scabbing Day by Day Microblading Healing Process
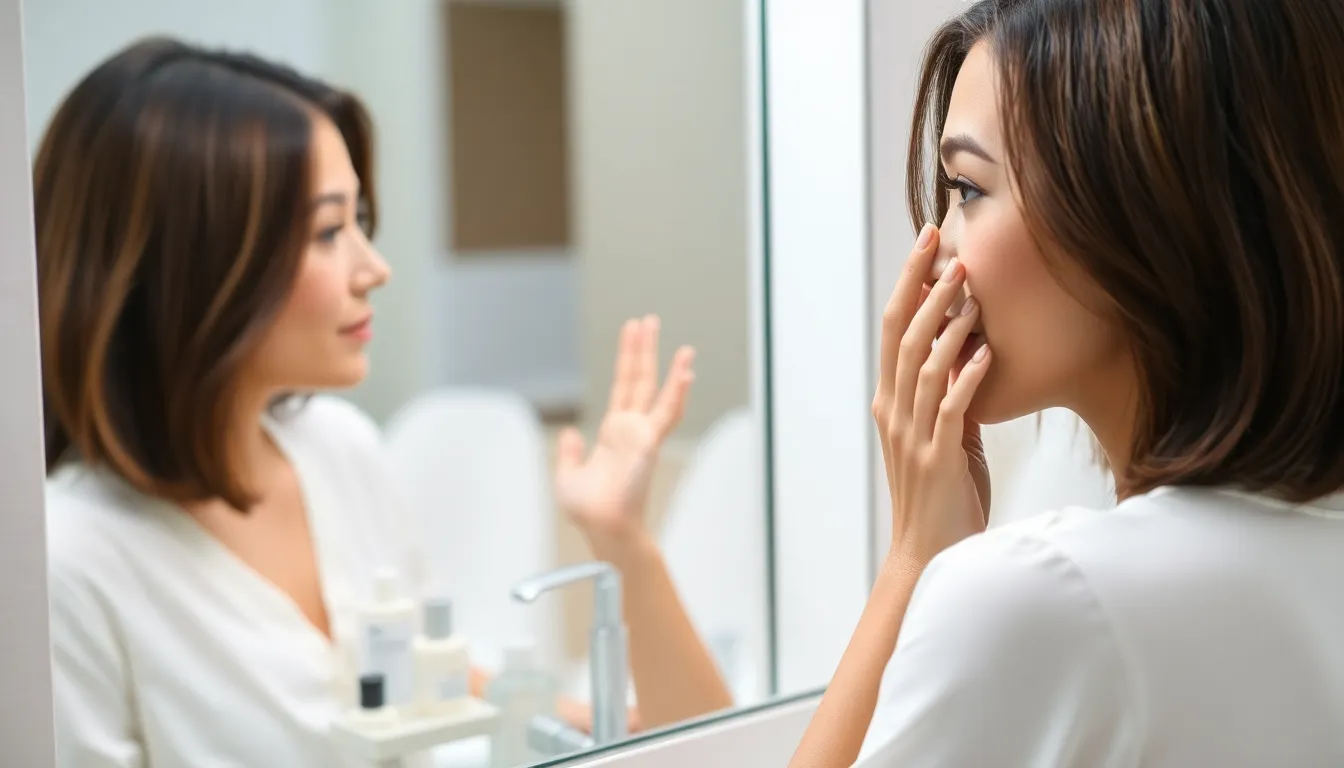
Understanding the day-by-day healing stages of microblading helps set realistic expectations. Scabbing is a normal part of this process, reflecting how the skin heals after pigment placement.
Day 1: Immediately After Microblading
Immediately after microblading, the brows appear bold and dark. Swelling and tenderness are common, often accompanied by slight redness. It’s essential to keep the area clean and avoid moisture to promote proper healing.
Day 2: Initial Scabbing Begins
By the second day, many individuals notice the first signs of scabbing. Small, thin crusts start to form over the microbladed areas. This initial scabbing indicates the skin’s natural healing response and shouldn’t be disturbed or picked at.
Day 3: Increased Sensitivity
Increased sensitivity usually characterizes Day 3, as the body continues to heal. The brows may feel itchy or uncomfortable, yet scratching must be avoided. Moisturizing with a recommended aftercare product can alleviate some discomfort.
Day 4: Scabbing Progress
As the fourth day progresses, scabbing becomes more visible. Flaking might occur, with some areas appearing dry and tight. Keeping the affected area clean helps maintain optimal healing conditions throughout this phase.
Day 5: Peeling Phase Starts
Day 5 often marks the beginning of the peeling phase for many. The skin starts to shed the top layer of scabs, revealing lighter areas underneath. Patience is essential during this time, as the brows may appear uneven.
Day 6: Healing and Color Change
On Day 6, healing continues, and the true brow color begins to surface. Some areas may appear lighter than expected, which is part of the normal healing process. Applying a gentle moisturizer helps keep the skin hydrated and aids color retention.
Day 7: End of Initial Healing
By the seventh day, the initial healing phase typically concludes. Most scabs resolve, resulting in a softer look for the brows. Final results may still fluctuate as the skin continues to adapt and settle into the new shape.
Tips for a Smooth Healing Experience
Ensuring a smooth healing process enhances the results of microblading. Following specific aftercare practices can make a significant difference.
Recommended Aftercare Practices
Apply a thin layer of the recommended ointment twice a day to keep the brows moisturized. Clean the area gently using a mild soap and lukewarm water, avoiding harsh cleansers. Avoid picking or scratching at the scabs, as this supports proper healing. Limit sun exposure to protect the delicate skin during recovery. Stay hydrated; drinking water contributes positively to skin health. Following these practices significantly reduces the risk of infection and promotes optimal results.
Common Mistakes to Avoid
Avoid touching the brows with dirty hands to prevent infections. Skipping the aftercare ointment leads to dryness and potential scarring. Refrain from excessive moisture, such as swimming pools or saunas, which can disrupt the healing process. Ignoring scabs or picking at them delays healing and may affect the final outcome. Finally, don’t apply makeup on the brows until fully healed; this helps preserve the newly microbladed appearance. Being aware of these pitfalls can greatly enhance the healing experience.
The microblading healing process can be a transformative journey. Understanding the day-by-day changes helps manage expectations and enhances the overall experience. Scabbing is a normal part of healing and should be embraced as the skin recovers.
With proper aftercare and patience, the final results will reveal beautifully defined brows that last for years. Regular touch-ups ensure the look remains fresh and vibrant. By following recommended practices and avoiding common mistakes, individuals can enjoy the benefits of microblading with confidence. This semi-permanent solution not only saves time but also boosts self-esteem, making it a worthwhile investment for anyone seeking fuller eyebrows.